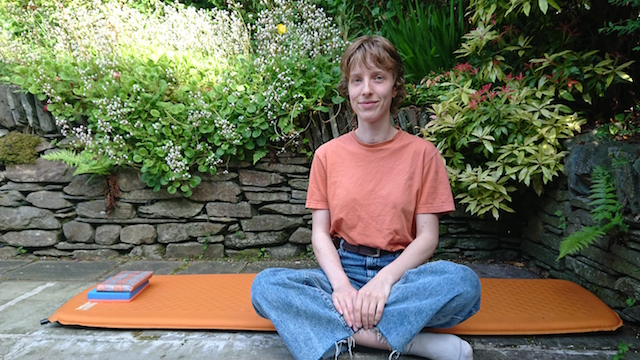
Constructive Rest, or Semi-Supine
Constructive rest – also know as ‘active rest’ or ‘semi-supine’ – is a standard part of our practice. Alexander teachers often work with their hands on the student in this position and explain how to benefit from doing it at home.
As well as helping with physical alignment, semi-supine is the closest we get to complete relaxation in Alexander lessons. While lying down, we are not engaged in activity, so it’s an opportunity to come to a state of stillness and rest. And if an Alexander teacher works with you, you may well release layers of tension you never knew you had! Then, with practice and over time, you can learn to release much of this tension for yourself.
Mental focus
Sometimes there’s nothing we need more than a good rest – but to gain true benefit from the Alexander Technique we need more than relaxation. ‘Constructive‘ rest, ‘active‘ rest: here are clues hinting that the purpose of this is not entirely passive.
Let me explain. Rest is not usually associated with mental focus, but in AT a key quality is the ability to be mentally clear yet physically relaxed at the same time. This is perfectly possible and can be one of the benefits of semi-supine, if you learn how to direct your attention. The skill of directing your thinking – which, as you gain experience, can be extended into all aspects of living – is a central part of what is learned and taught in Alexander lessons.
Here are some basic instructions and reminders for semi-supine practice:
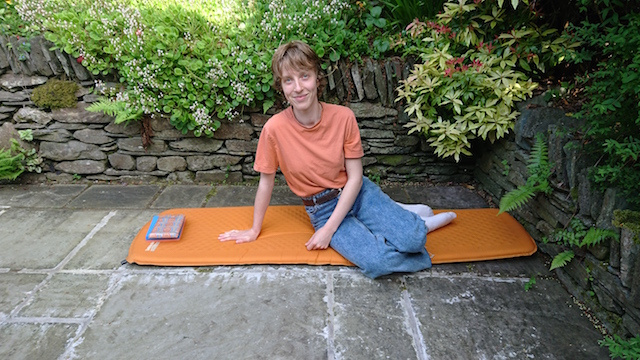
You will need space on the floor, with a carpet or yoga mat to lie on, and a few paperback books for a headrest.
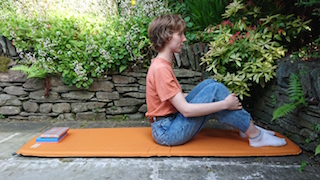
- Sit upright on the floor with knees bent – having arranged your books into a small pile behind you, where your head will rest.
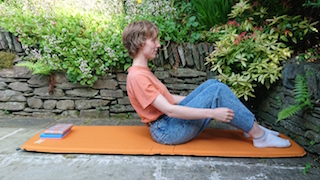
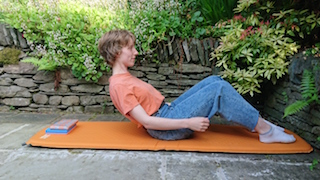
- Roll yourself down onto your back – trying to stay fairly symmetrical as you roll but without trying too hard: the movement should be smooth and relaxed but not too slow.
- If your positioning is right your head will land on the books when you roll down. You can if necessary reposition the books with your hands. See below ‘Guide to arranging your headrest’.
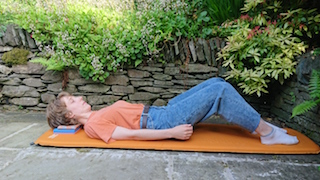

- Legs: keeping knees bent, place feet on the floor fairly close to your body. You want to find a position that allows your legs to balance comfortably.
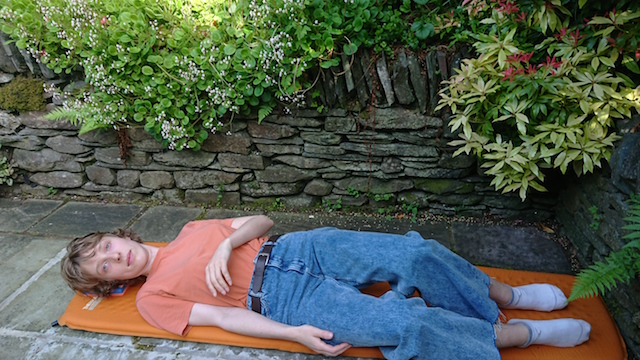
- Arms: the standard position is palms resting on your tummy with upper arms & elbows on the floor, but there are variations. If there is enough space on the floor you can experiment with arms resting by your sides or outstretched, palms facing up.
- Allow yourself to rest in this position for a little while (we often suggest 10-20 minutes); ideally bringing your attention to your body in the present moment as you relax into the floor. It is good to have some guidance from a teacher, but if this isn’t possible you are still likely to benefit from resting in this position. You can also listen to an audio recording while you lie down, helping to direct your attention in a constructive way.
Guide to arranging your headrest
The headrest has two functions: (1) to support your head so that you can relax your neck muscles, and (2) to help establish good alignment between head and body. Although you could use a cushion, paperback books are usually better as they give you a strong sense of support. Some people need 10cm thickness of books or more under the head, others only 1cm or 2cm, or even nothing at all. Of course it’s good to have a teacher’s guidance, but meanwhile try the following:
Once you are lying down, relax for a minute or two, then notice where your eyes naturally rest on the ceiling. If you are looking directly above your head or slightly forward (over your body), your headrest is about right. If you are looking behind your head, the headrest is not thick enough. If, on the other hand, the front of your throat feels squashed, then your books may be too high. Be prepared to alter the thickness of books occasionally (not normally within one session though) as your neck may change.
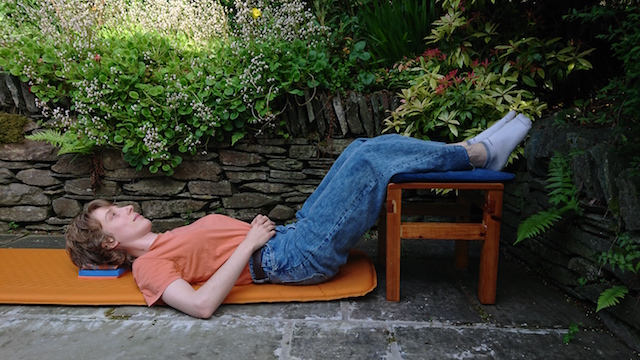
Alternative position for legs
Instead of putting your feet on the floor, you may like to try resting your feet and lower legs up on a chair, couch, or bed. Doing it this way may make it easier to relax the legs, and it doesn’t matter if they flop out a bit. It can be a little awkward to get into this position though, as your bottom needs to be fairly close to the furniture.
Making adjustments
On the whole, once you are lying in semi-supine you should keep still, letting your body and mind settle. It’s okay to make occasional adjustments to your position if you are uncomfortable – or if you sense that your body needs to ‘open out’ more after muscles have released.
One such adjustment is in the lumbar region, the part of your back between your ribs and pelvis. Sometimes this lumbar area doesn’t touch the floor, creating a gap between your middle back and the floor, causing extra pressure under your pelvis. If this is the case I suggest two options. First: after resting for a few minutes, the muscles in the lumbar area may have released enough for you to move your pelvis to ‘take up the slack’ in your spine. To do this, raise your bum slightly off the floor and move it down, away from your head. You can use your hands to help with this manoeuvre if that’s helpful. Continue to rest in this new position, allowing your whole back to lengthen and relax into the floor. This adjustment may enable you to rest comfortably for a good while. If, however, your back still doesn’t touch the floor, or you still feel pressure under your pelvis or sacrum, use the alternative method of putting a thin cushion or folded towel underneath the pelvis, or under the lumbar region – whichever feels best.
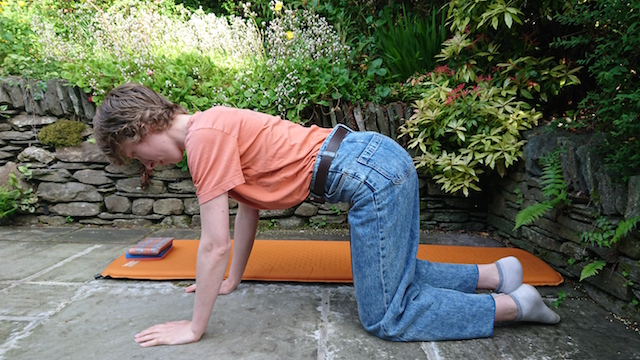
Getting up
Taking your time, roll over to one side and onto hands and knees – keeping the length and width of your body as you go. Move with awareness and don’t rush: if you sense you’re making too much effort (out of habit), you could pause for a moment to try and let go of unnecessary tension.
Use your awareness to guide you through balanced positions, until you reach upright.
Now, the challenge is to take some of the benefits you’ve just gained into the rest of the day’s activities…